DIY
Camouflage for a Shotgun
by
StumpJumper
Click here to purchase a
CD with this and all Kitchen Table Gunsmith Articles.
Disclaimer:
This article is for entertainment only and is not to
be used in lieu of a qualified gunsmith.
Please defer all firearms work to a qualified
gunsmith. Any loads
mentioned in this article are my loads for my guns and have
been carefully worked up using established guidelines and
special tools. The
author assumes no responsibility or liability for use of
these loads, or use or misuse of this article.
Please note that I am not a professional gunsmith,
just a shooting enthusiast and hobbyist, as well as a
tinkerer. This
article explains work that I performed to my guns without
the assistance of a qualified gunsmith.
Some procedures described in this article require
special tools and cannot/should not be performed without
them.
Warning:
Disassembling and tinkering with your firearm may
void the warranty. I
claim no responsibility for use or misuse of this article.
Again, this article is for entertainment purposes
only!
Tools
and firearms are the trademark/service mark or registered trademark
of their respective manufacturers.
[Note:
While researching how to camouflage a gun on the
Internet I found a forum called
Duck Hunting Chat. One member,
StumpJumper, posted complete instructions on how to
paint a camouflage reed pattern onto a shotgun. These are
his instructions along with his photos, all used with his
permission. Thanks Stump!]
Steps to
Painting a Shotgun
Ok guys, after posting pics of the guns that I’ve painted,
I’ve received a lot of requests on a step by step process.
I have taken in a gun from Fowl Wishes here at DHC to see
how someone other than me, family, and friends like it. He
will post up when it’s returned and let you boys know what
he thinks. Until then here is a detailed account of what I
do.
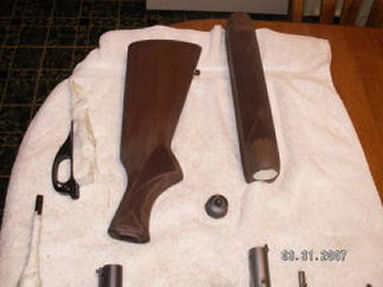
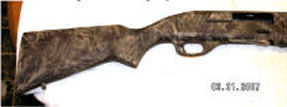
First
here is a before pic of the victim. She is a Remington SP
10 duck killing machine.
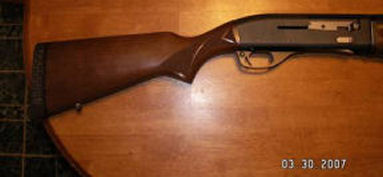
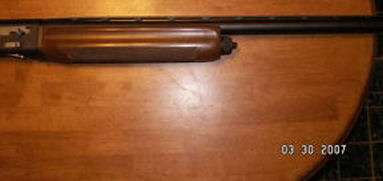
Pretty ain’t she

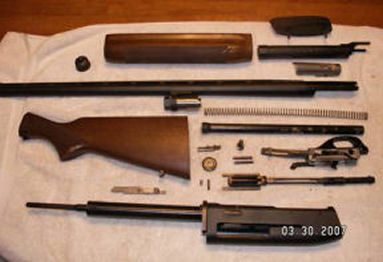
Step 1.
The gun was completely disassembled and cleaned internally.
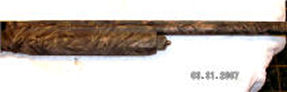
Step 2.
All wood was sanded to remove the clear coat and stain if
any. If you're painting a composite stock and forearm, ruff
it up with some 120 grit so that it holds paint. Any rust
on the metal was sanded to prevent future rusting. This
part is extremely important! Any areas not to be painted
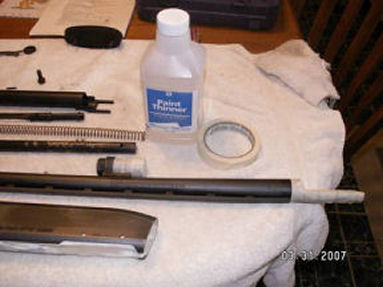
were taped off. Finally the entire gun was wiped down with
thinner to remove any dust or foreign particles. Also make
sure to wear thin rubber gloves when you’re cleaning all of
the parts. If not you run the chance of leaving oil from
your hands on the parts and it WILL rust under the paint.
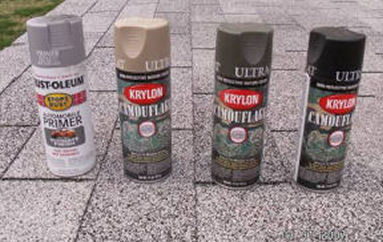
Step 3.
The paint used for the primer, base and overspray are
a.
Rust-oleum gray auto primer
b.
Krylon reed brown ultra flat
c.
Krylon OD green ultra flat
d.
Krylon black ultra flat (also there is a dark brown that Krylon offers. You can use
it instead of black. Personally I think it looks better
with the dark brown. I call it the chocolate pattern.)
Step 4.
I hung the gun parts using thin hemp purchased at Wally
world in the craft department.
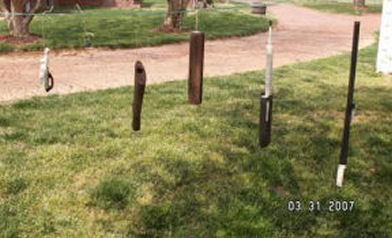
Step 5.
Next I sprayed 2 coats of primer and allowed it to dry
between coats. Pay attention to all the nooks and
crannies. Go light until you get the feel of it or you’ll
end up with the runs!  Do
not apply too much paint. If you apply too much it will
crack due to build up. Just enough to cover the parts
completely. After this dries it may be necessary to run
some 400 grit sand paper over composite or wood pieces.
Some of these products absorb the paint and swell causing
the surface to be rough. After you re-sand them make sure
to hit them with the primer again. Do
not apply too much paint. If you apply too much it will
crack due to build up. Just enough to cover the parts
completely. After this dries it may be necessary to run
some 400 grit sand paper over composite or wood pieces.
Some of these products absorb the paint and swell causing
the surface to be rough. After you re-sand them make sure
to hit them with the primer again.
Step 6.
After the primer is dry, I apply 2 coats of the Krylon reed
brown. Again take your time. (Just enough to fully cover
all parts )
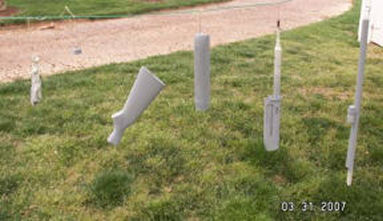
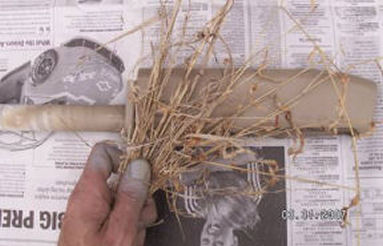
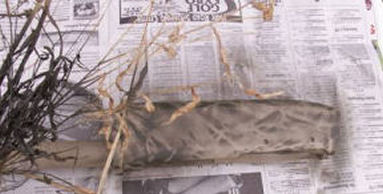
Step 7.
After everything is good and dry, remove all of the pieces
and place them on a flat area covered in newspaper. I went
into my field and picked some dead weeds for the over
spray. For the first color, OD green, I usually choose a
thicker diameter weed such as Johnson grass. This way you
will leave some of the reed brown showing thru. Grasp the
reeds in one hand and hold them against the surface of the
gun. Spray slowly over the weeds, make sure not to move or
they will be fuzzy. Keep the spray can about 6" from the
parts and lightly spray until you get the desired color.
Then move to another area of the gun and repeat. Make sure
to rotate the weeds to create varying patterns (rotate
left/right/up/down) Remember this is the back ground. Do
one side of one piece at a time. Let it COMPLETELY dry
before turning it over to do the other side. One thing to
always check is to make sure that you keep the darkness or
lightness of each piece roughly the same. If not it will
look like a calico cat when assembled.
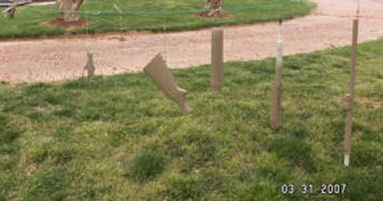
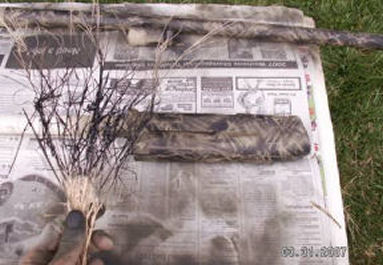
Step 8.
After you have finished the OD green the black is next. Go
and pick you some more weeds. But this time they should be
as thin as you can find. Do the same process as before but
watch it with the black. Too much here and she will be TOO
dark. Go light; you’re just adding a small amount of detail
to the background to give it depth.
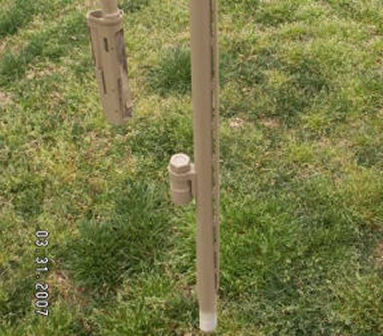
Step 9.
Now I bring the gun inside and assemble the barrel,
receiver, trigger, and the butt stock. This is done so that
when you paint the reeds you allow them to transfer
seamlessly from
piece to piece. Also you need to make sure that the
background is even throughout the entire gun.
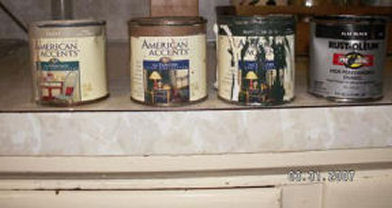
Step 10.
Here is a list of paints that I use to do the reeds in the
order that they are applied.
a.
American accents taupe
b.
American accents nutmeg
c.
American accents hunters club green
d.
Rust-oleum flat black
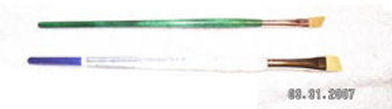
Step 11.
And here are the brushes that I used. They can be found at
any art store.
a.
1/4" angled medium bristle
b.
3/8" angled medium bristle
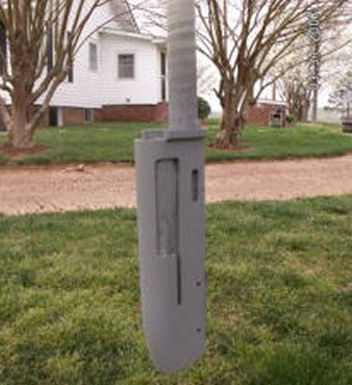
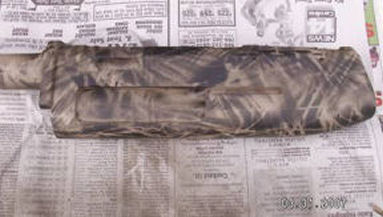
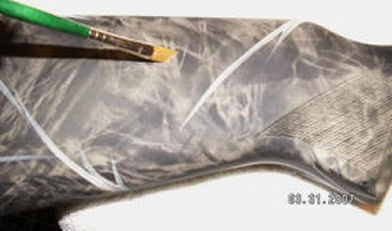
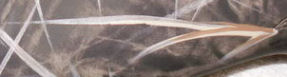
Step 12.
To paint the reeds, place the brush on the surface so that
the angle is against the gun with the long end of the angle
farthest away from you. Try to start at an area of the gun
that has an edge so that the reeds appear to be coming out
of that spot. As you draw the brush away from the starting
point decrease the amount of pressure that you are applying
and try to flick your wrist slowly to create the thin tips
of the reeds. Change the way the reeds flow to create a
varying pattern. Move down the side of the gun and fill in
the reeds as dense as you want. This first process is done
with the color taupe only.
Step 13.
Now for the fun part. For the next process you will use the
nutmeg only. You’re going to do this step the same as the
last, but the twist is you will be going OVER the reeds you
painted the first time. Don’t cover the whole reed only
part of it. This is adding the detail of varying colors of
the reeds. This is where most people make mistakes. It is
difficult to make the brush go over the same area you’ve
already painted. Practice first.
Step 14.
Now you will use the green. Only place a few green reeds to
the gun. If you add too many it will not blend in as well.
The green gives it a realistic look. These are done
separately from the other reeds.
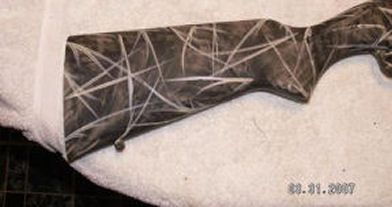
Step 15.
The final color is black. You will use this to place a
small amount to 85% of the total reeds including the green
ones. This will really bring out the detail in your reeds
and set them apart from the background. Remember only 85%
of the reeds. That way in will appear as two different
layers of reeds. Those close and those a little further
away. One thing to remember about the black is go small.
Don’t cover your other colors. You’re only adding fine
detail.
Step 16.
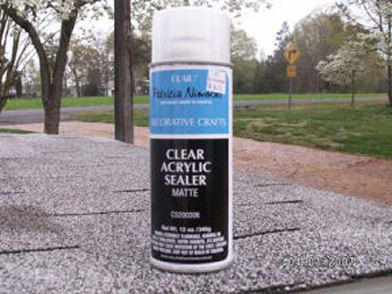
Let the paint dry overnight in a warm place. The last
process is the clear matte finish. This will help to
protect the paint in inclement weather. I use a clear
acrylic sealer personally but a clear in matte finish will
work (try Krylon matte finish as well )
Step 17.
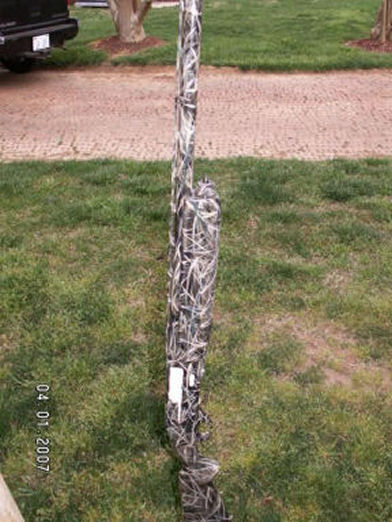
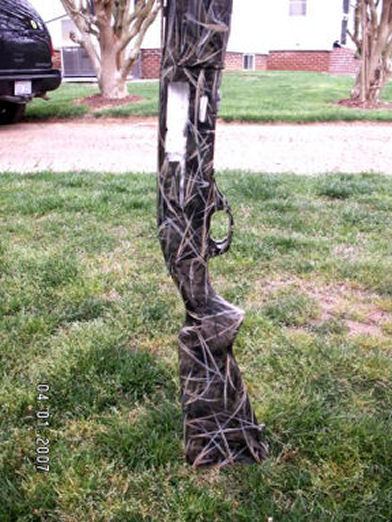
Hang the gun back up and apply the sealer. I personally do
three coats. If possible place the gun in the sun while
drying. The sun's heat will practically bake the stuff on hard
as a rock. Or you can buy a heat lamp bulb and place it in
an aluminium drop light. Hang it near the parts in a barn
or someplace to let it heat up and bake in.
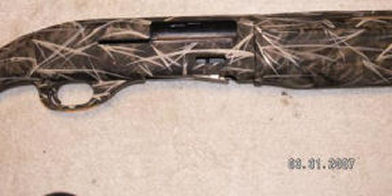
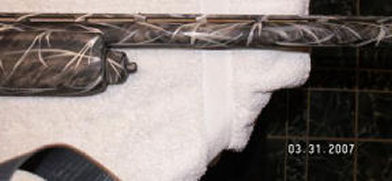
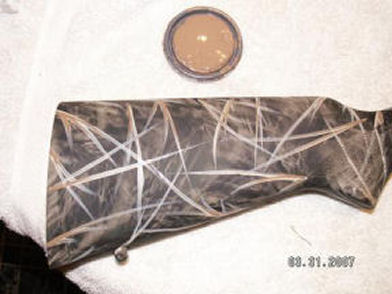
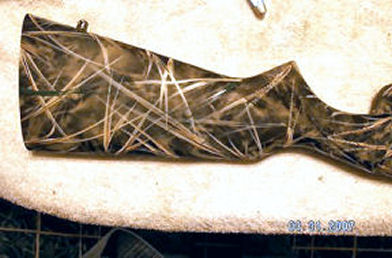
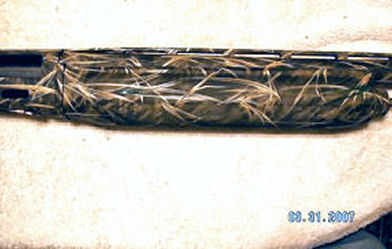
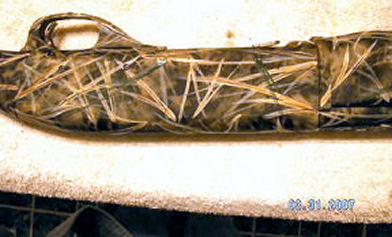
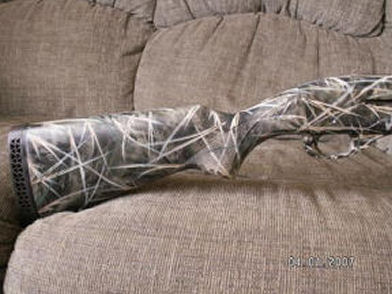
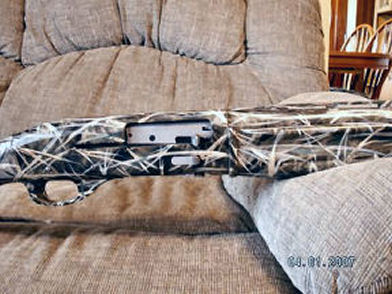
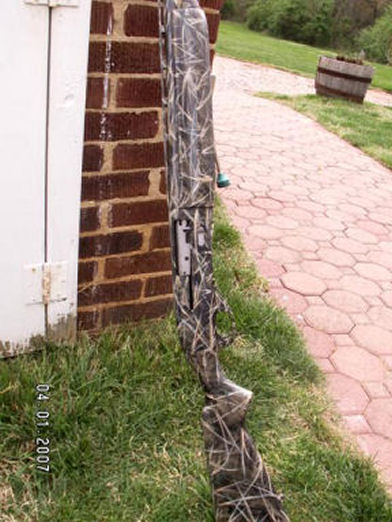
Here is the finished project all assembled. I’ll let her
dry for at least another 24 hours just to make sure it’s
good to go.
This is a fun project for others to try. If you mess up,
start over again. Take your time and have fun with it.
[Thanks
again Stump for sharing your knowledge with others and
allowing me to post these on my web site.]
|